 Australia
 Canada
 France
 Germany
 Indonesia
 Japan
Japan United States
 Italy
Italy Spain
SpainEasy DIY Headboard Ideas To Spruce Up Your Bedroom

Redecorating your space doesn’t have to cost an arm and a leg, and what better way to rejuvenate your bedroom than with a budget friendly do-it-yourself project?
DIY headboards can liven up any bedroom, and when combined with the right bed frame, can add depth and character to a room. Since your bedroom is a haven, having your own personal stamp is just what you want.
To help you with DIY headboard ideas, we got in touch with furniture flipper and home decor blogger Maggie McGaugh, and home decor and DIY blogger Ashley Wilson to share their favourite projects. Follow these step-by-step instructions on how to create two unique DIY headboards that will pair perfectly with a Zinus bed frame.
Maggie’s Quick DIY Headboard Hack
A cane headboard can add a dash of elegance to any bed frame, completely changing the look and feel of the bedroom. For a total price of about £40 (£10 for spray paint and £30 for a thrifted headboard) and a working time of two to three hours, Maggie’s simple and elegant DIY bed headboard is a project you can start and finish in a single afternoon.
You will need:
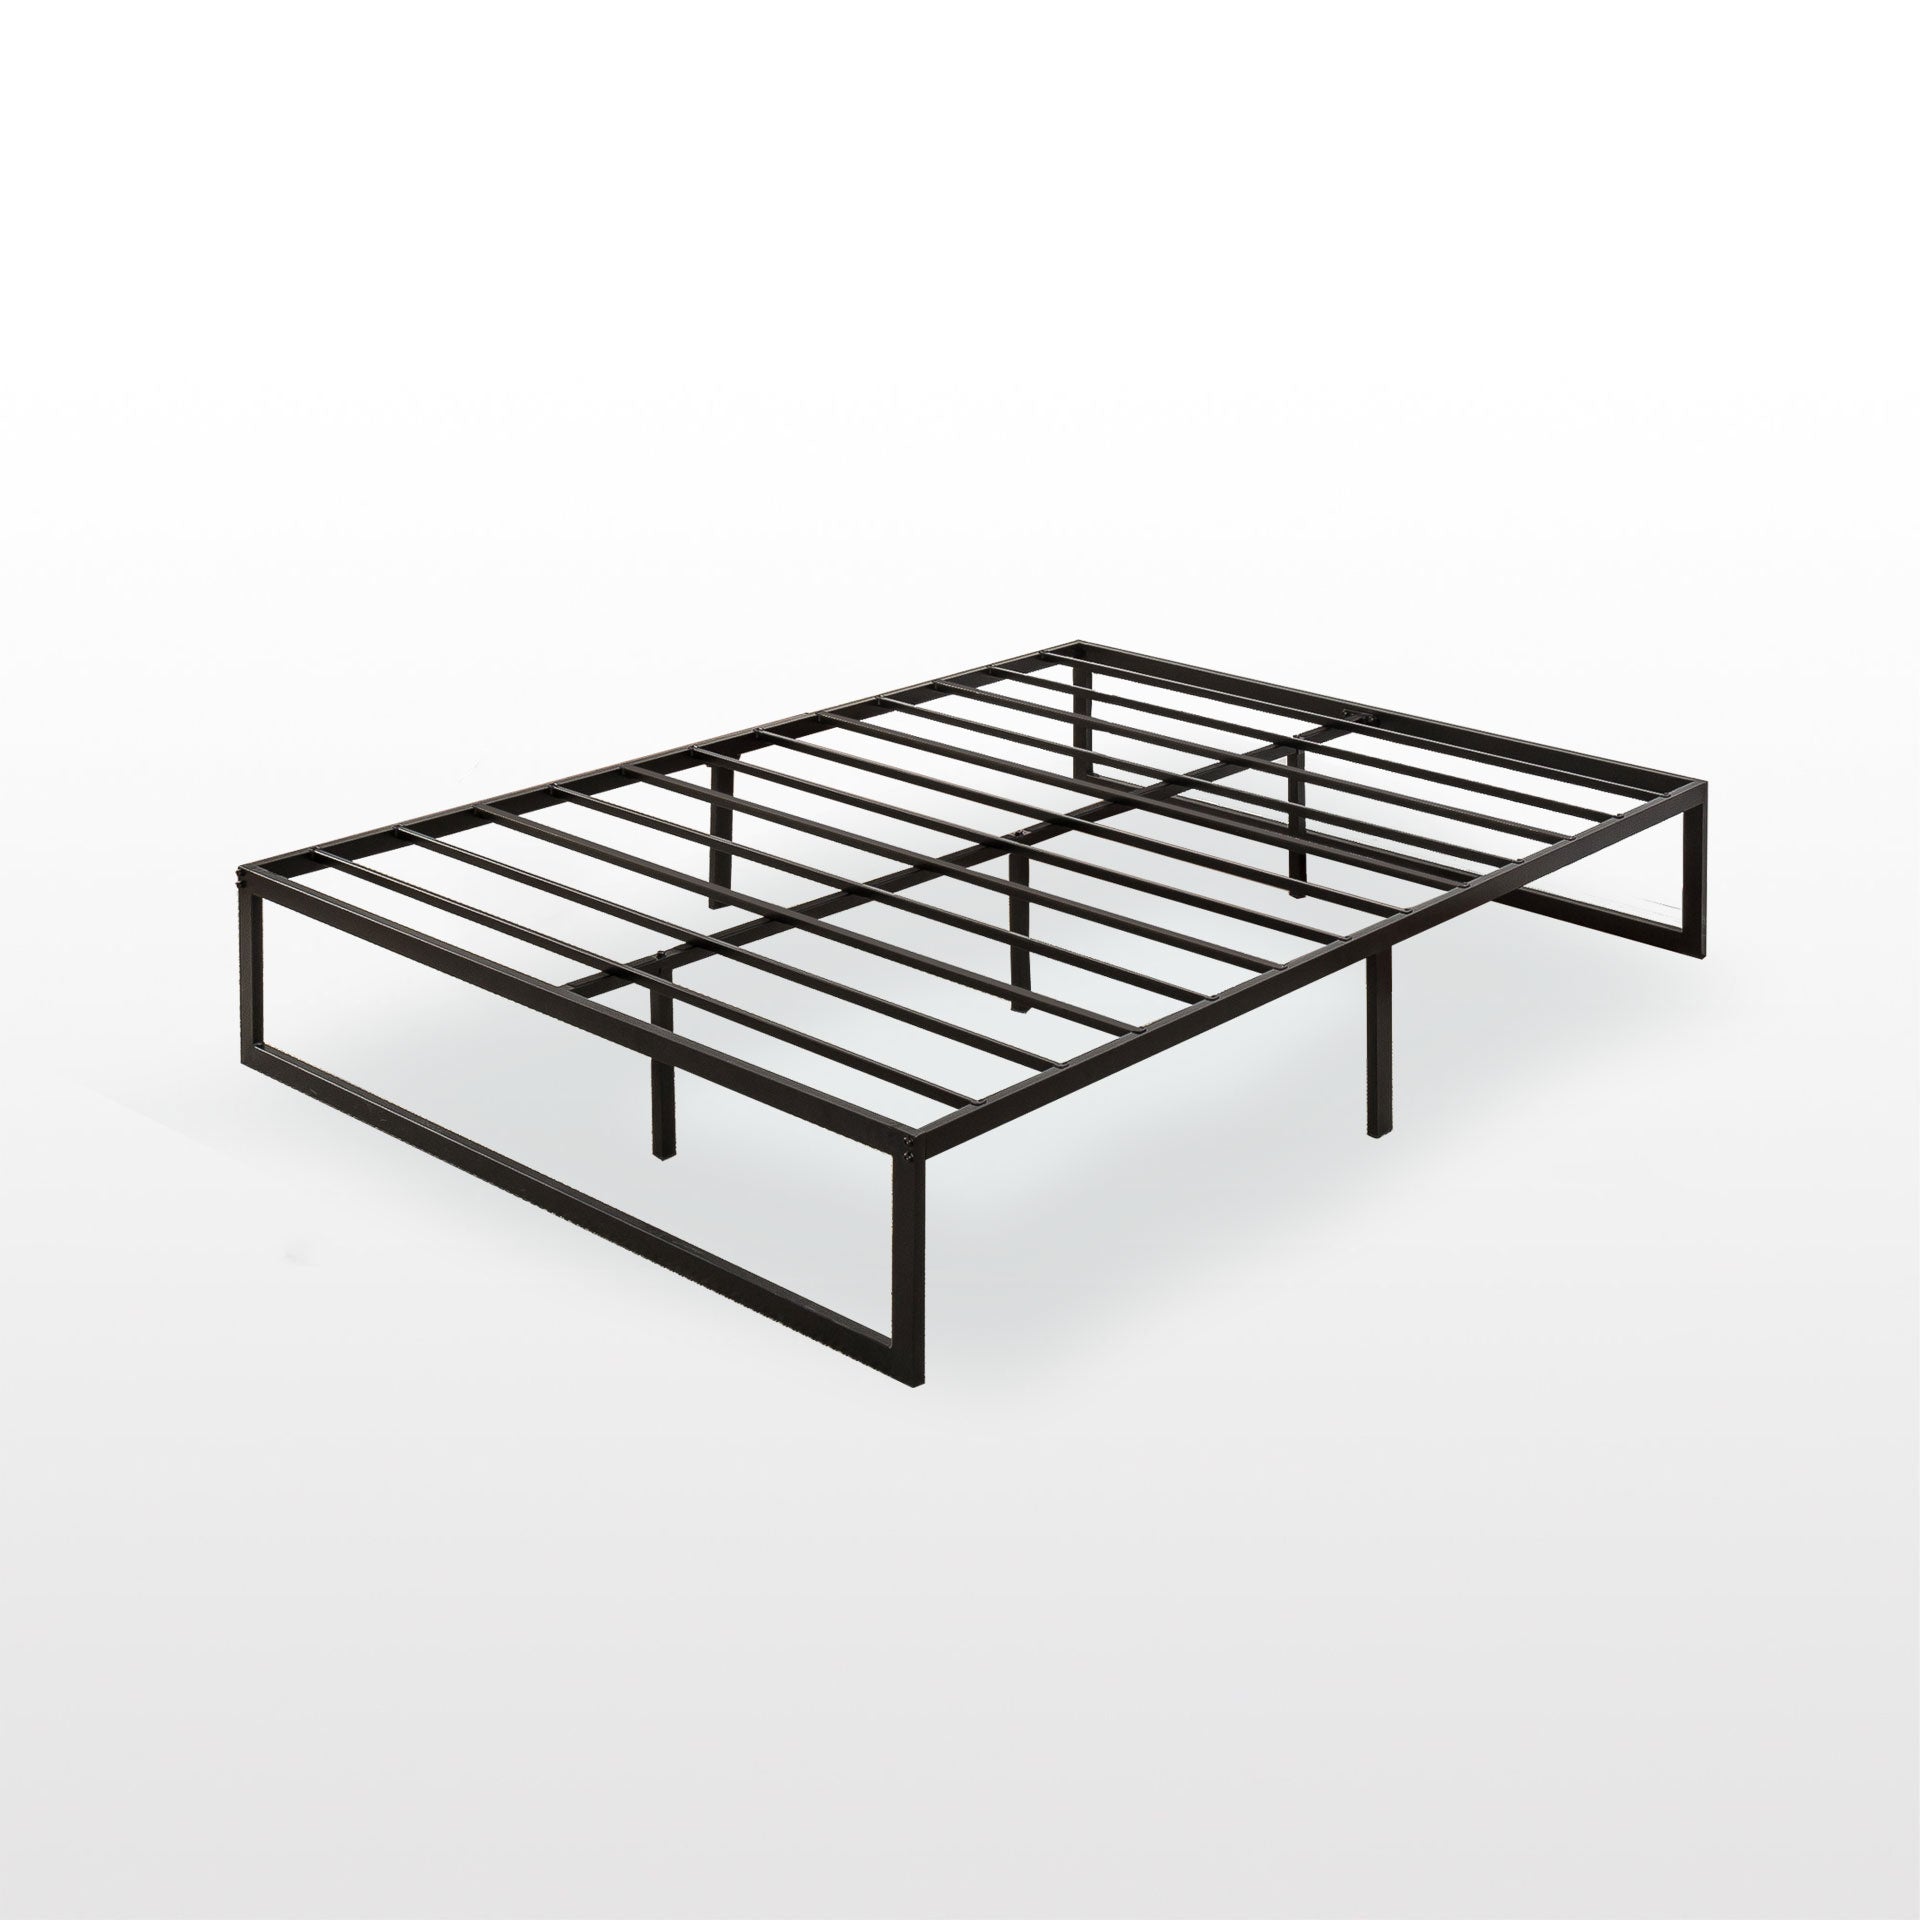
- Alexia Bed Frame (or similar)
- Black spray paint
- Cream spray paint
- Orbital sander
- Drill and drill bits
- Painter’s tape
- Jigsaw
- Krud Kutter
- Rag
- Table saw (only needed if original headboard is too tall for bed frame)
1. Find Your Furniture Flip
Maggie found a headboard on the NextDoor app, and knew the exact look she wanted to recreate…
“I love cane… and was so excited to find this [headboard]. My dining room table is black with cane, so I knew I wanted a similar look for my bedroom.”
Thoroughly clean your piece with a rag and Cillit Bang, or similar, before getting to work on creating your DIY headboard.

2. Prep Your DIY Headboard Piece
Next, use a jigsaw to cut off any corners you do not want on your final headboard.
“Jigsaws are so easy to use, though they can seem overwhelming at first. All you do is plug it in, put on safety goggles/mask…and slowly and steadily glide it along the line you'd like to cut.”
Afterwards, clean the piece again, and sand your headboard using the orbital sander so the paint will stick.
3. Paint The Headboard
Maggie used cream spray paint and painter’s tape for the cane, then covered the cane and painted the body of the headboard black. This means that she can match the colour perfectly to the bed frame with ease.
Maggie highly recommends spray paint as it’s “a fast, affordable option that's great for low-traffic pieces in your own home!”
Let the paint dry for at least one hour. A coat of seal is optional, but offers an extra layer of protection.

4. Attach, Then Enjoy Your DIY Bed Headboard
After the DIY headboard was completely dry, Maggie set up her Alexia wood bed frame (also painted black to match the headboard). Once done, she attached her freshly flipped headboard by drilling screws into the base.
A simple, quick DIY headboard hack that took a great bed frame and added a whole new dynamic.

Ashley’s Easy DIY Bed Headboard Made From Rattan And Wicker
An interior designer from Florida and a long time home decor and DIY blogger, Ashley knows a thing or two about creating beautiful furniture for next to nothing…
“I am passionate about creating a beautiful home and life and… creating affordable decor. I truly believe that everyone can have a beautiful home, no matter what your budget is!”
Inspired by a love for rattan and wicker headboards, she wanted to create the same look for less. “I love the coastal and casual vibes [rattan] gives any room. And there’s no beach needed!”
Keep reading for her take on a DIY headboard made from rattan and wicker.
You will need:
- Curtis Upholstered Bed Frame (or similar)
- Plywood sheet
- Jute round rug
- Wood to metal screws
- Heavy duty scissors
- Jigsaw
- Sander
- Drill and drill bits
- Pencil
1. Build The Bed Frame
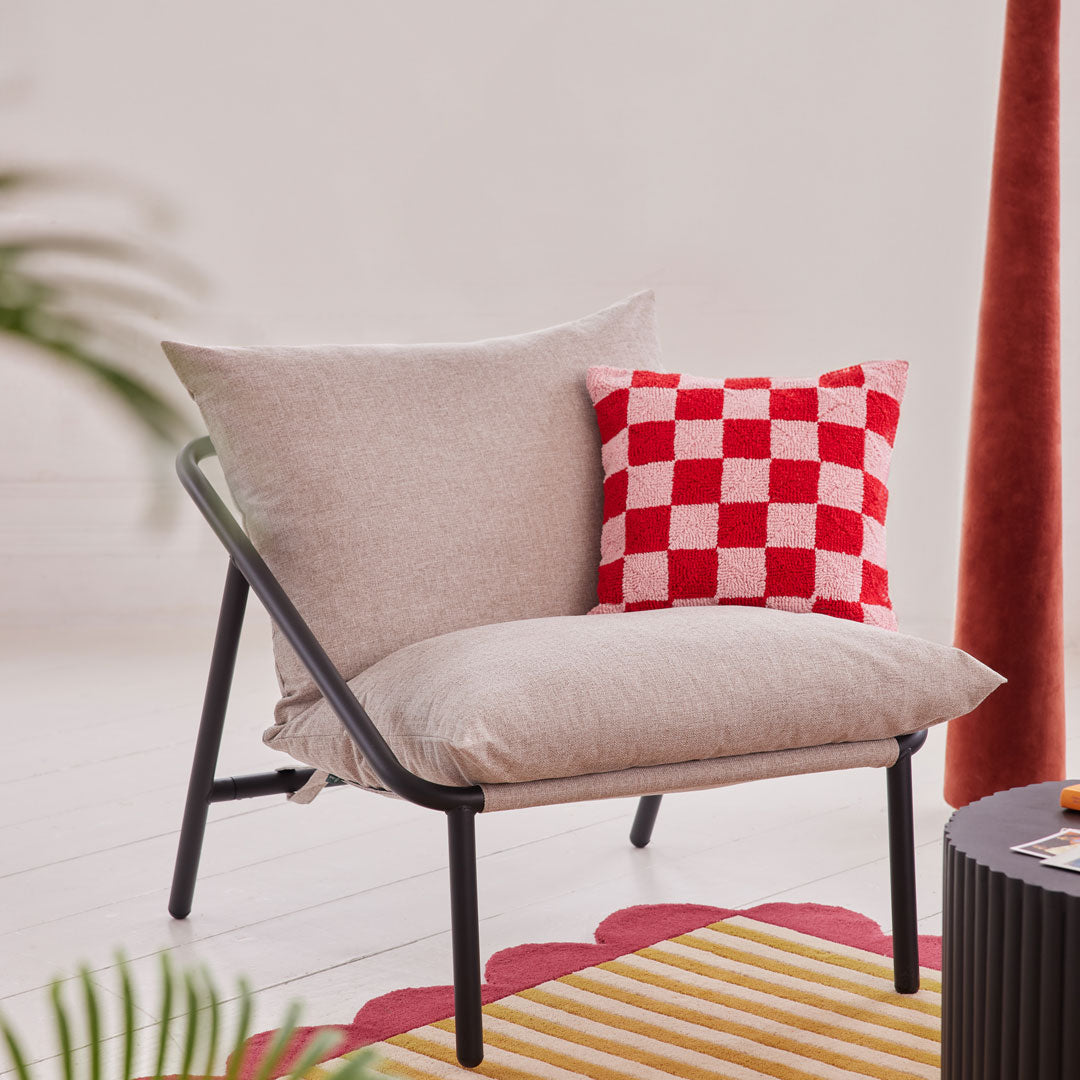
First, Ashley built her Curtis Upholstered Bed Frame. This great bed came together in a matter of minutes, and she knew the sleek, modern frame would look great with a wicker DIY headboard.
2. Trace The Rug
Placing the jute round rug on top of the plywood, Ashley used a pencil to lightly trace the arch of the rug. This allowed her to get exactly the right shape quickly and easily.
Quick tip: tape the rug to the plywood to ensure your trace pattern is even and steady!
3. Cut The Arch
Next, she used a jigsaw to cut the arch pattern on the plywood. (Always wear safety goggles for this as dust and splinters will spread through the immediate area). Once the plywood was cut, she sanded the edges until they were smooth.
4. Attach The Rug To Your DIY Headboard
Ashley stapled the rug to the plywood arch and cut off any excess material that wouldn’t be showing with heavy duty scissors. Regular scissors won’t be able to easily cut through the rug, and could make a mess of the edge.
She also recommends stapling the ends of the rug so they won’t fray or be ripped away.

5. Connect The DIY Headboard To The Bed Frame
To attach her DIY headboard to her Zinus bed, Ashley used a drill to create pilot holes in both the plywood bottom and the frame, then drilled screws into the plywood to attach it to the bed frame.
6. Make The Bed
After making sure the frame and headboard are nice and secure, Ashley put the mattress and the finishing touches on her brand new Curtis Upholstered Bed Frame with a beautiful handcrafted rattan and wicker headboard, all for only £130 and made in half a day.
That makes this a quick and easy DIY bed headboard that’s different from anything else you’ll find.

Make Your Own DIY Headboards
DIY headboards are a great way to show your individuality by transforming your bedroom and bed frame to create something unique. Rather than using a store bought headboard that you can find in any home, this is a way to recycle what’s already out there and give your creativity skills a bit of practice.
We’re always looking for new ways to help you bring your dream home to life, and we have plenty of ideas to inspire you on our blog. Take a look to discover your next project.